Documentation Index
Fetch the complete documentation index at: https://docs.reasoningstack.ai/llms.txt
Use this file to discover all available pages before exploring further.
Quick Start Guide
Welcome to Reasoning Stack! This comprehensive guide will help you set up your account, understand the core features, and create your first intelligent automation workflows in just minutes.What is Reasoning Stack?
Reasoning Stack is an advanced AI orchestration platform that enables:- Multi-Agent Collaboration: Multiple AI agents working together on complex tasks
- Transparent Reasoning: See exactly how AI makes decisions with step-by-step explanations
- Universal Integrations: Connect 50+ apps including Gmail, Slack, Google Workspace, and more
- Intelligent Automation: Create sophisticated workflows across all your connected applications
- Advanced Content Creation: Generate documents, presentations, PDFs, and visual content
Step 1: Account Setup and First Steps
1.1 Create Your Account
- Visit reasoningstack.ai
- Sign up for your account and verify your email
- Complete your profile setup with basic information
- Choose your subscription plan that fits your needs
1.2 Personalize Your AI Experience
Navigate to Personal Settings to customize how AI interacts with you: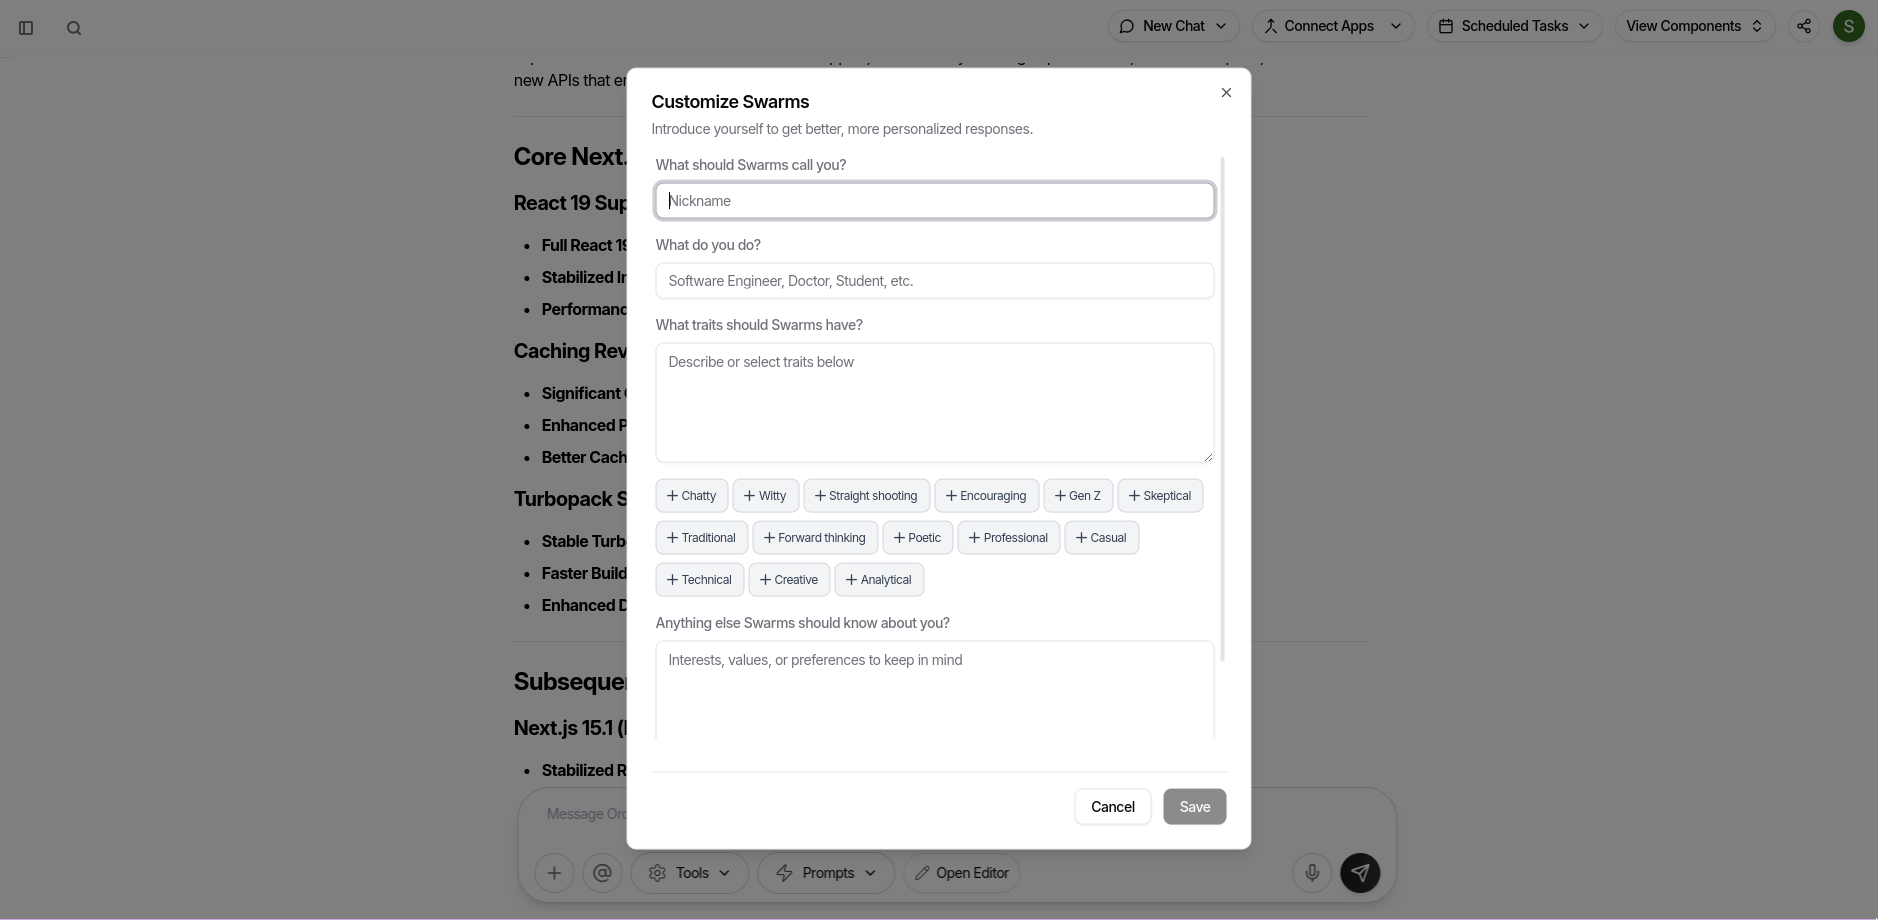
- Set Your Nickname: Tell the AI what to call you
- Define Your Profession: Add your job title for more relevant responses
- Choose AI Personality: Select from traits like:
- Chatty: Conversational and engaging
- Technical: Detail-oriented and precise
- Creative: Innovative and expressive
- Professional: Business-appropriate tone
- Enable Advanced Tools: Turn on features like AI Search and multi-agent Swarm mode
Step 2: Understanding the Reasoning Engine
Every interaction in Reasoning Stack begins with transparent reasoning.How It Works:
- Initial Analysis: AI breaks down your request step-by-step
- Decision Making: Shows why it chooses specific actions
- Agent Coordination: Explains how multiple agents will collaborate
- Continuous Updates: Provides reasoning between each agent hand-off
Step 3: Your First Chat Experience
Start with the Chat Options to understand different conversation modes: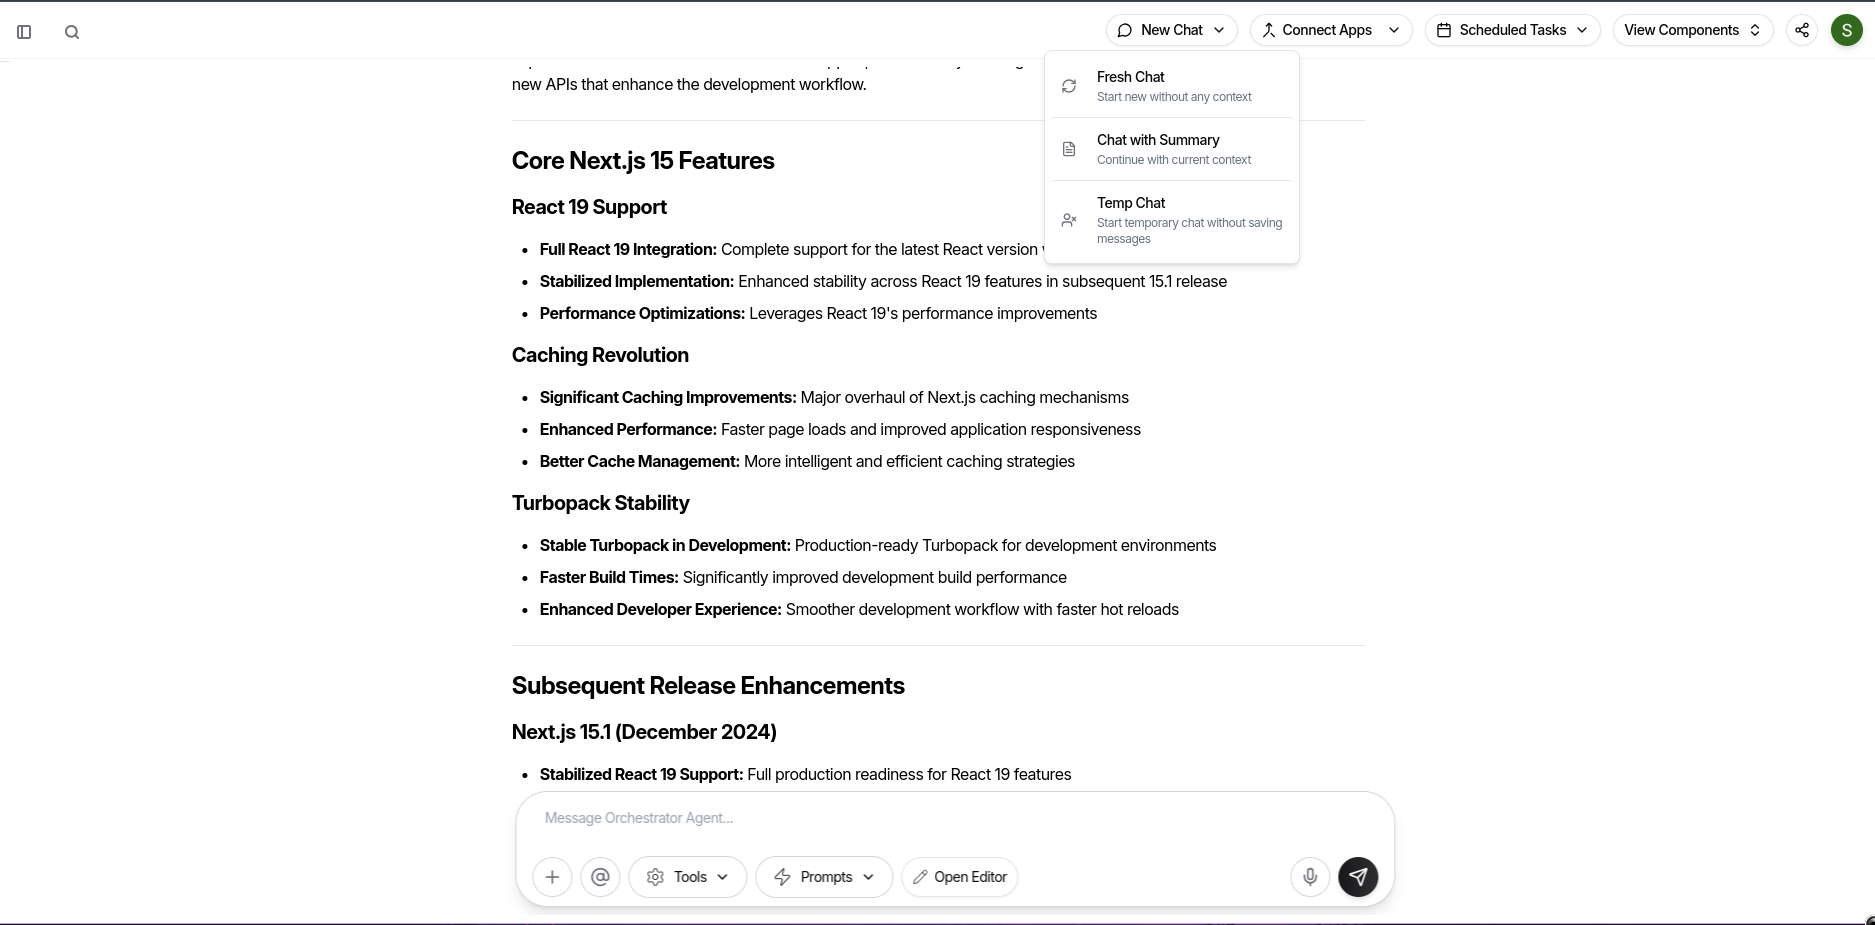
Chat Modes:
- Fresh Chat: Start completely new conversations
- Chat with Summary: Continue with context from previous conversations
- Temp Chat: Disposable conversations that aren’t saved
Step 4: Connect Your First Applications
4.1 Popular First Integrations
Start with these commonly used apps: Gmail Integration:- Authorize access to your Gmail account
- Try: “Show me unread emails from this week”
- Try: “Draft a follow-up email to John about the project”
- Connect your Google Drive
- Try: “Find all documents related to quarterly planning”
- Try: “Create a new document about our meeting notes”
- Connect your Slack workspace
- Try: “Send a message to the team channel about today’s updates”
- Try: “Search for messages about the project deadline”
4.2 Using Knowledge Search
Once connected, use Knowledge Search to find information across all your apps: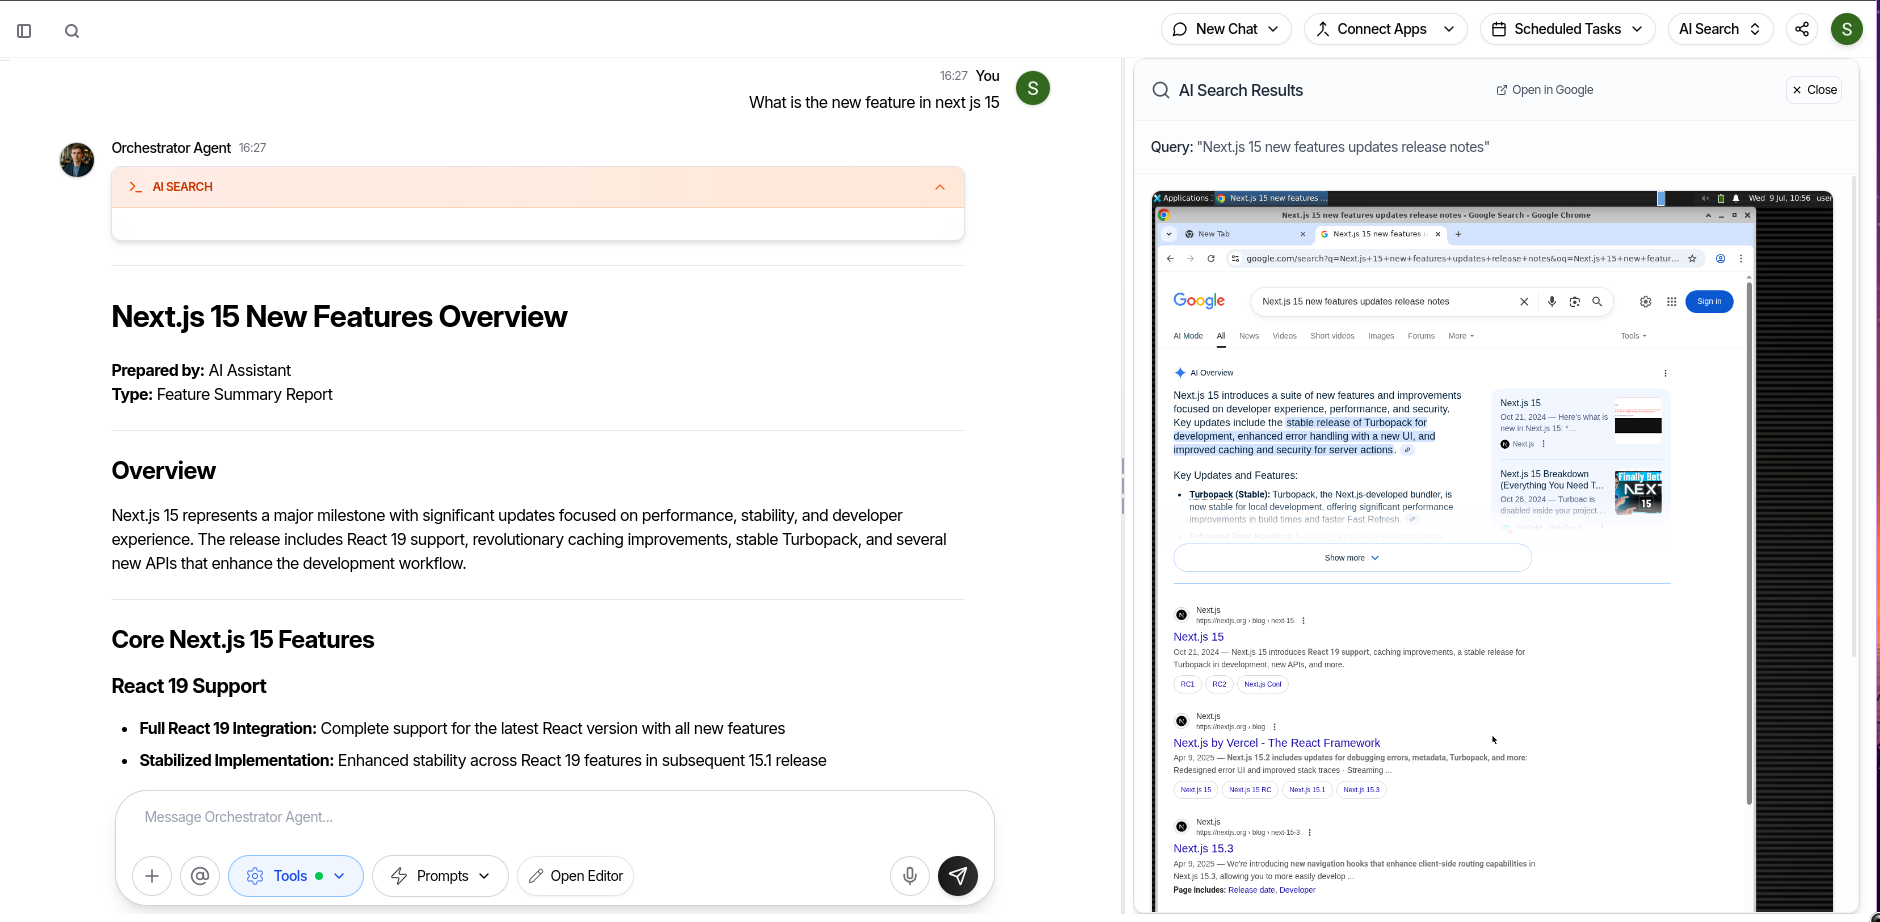
- “Find emails from Alice about the marketing campaign”
- “Show me calendar events for next week”
- “Search for documents tagged as urgent in Notion”
Step 5: Create Your First Custom Agent
Navigate to the Custom Agents section to create specialized AI assistants:5.1 Agent Creation Process
- Click “Create New Agent”
- Name: Give your agent a descriptive name (e.g., “Marketing Assistant”)
- Purpose: Define what it should do (e.g., “Create marketing content and manage social media”)
- Tags: Add relevant tags for organization
- Attachments: Upload relevant documents or reference materials
5.2 Agent Management
- Edit: Update agent capabilities as your needs evolve
- Delete: Remove agents you no longer need
- Search: Find agents by name, purpose, or tags
- Categories: Organize agents by type (Research, Communication, etc.)
- Content Creator: Generates blog posts, social media content, and marketing copy
- Data Analyst: Analyzes spreadsheets and creates reports
- Meeting Assistant: Schedules meetings and sends follow-ups
- Research Assistant: Gathers information and creates summaries
Step 6: Experience Multi-Agent Collaboration
6.1 Agent Desk Overview
The Agent Desk is your mission control for multi-agent workflows: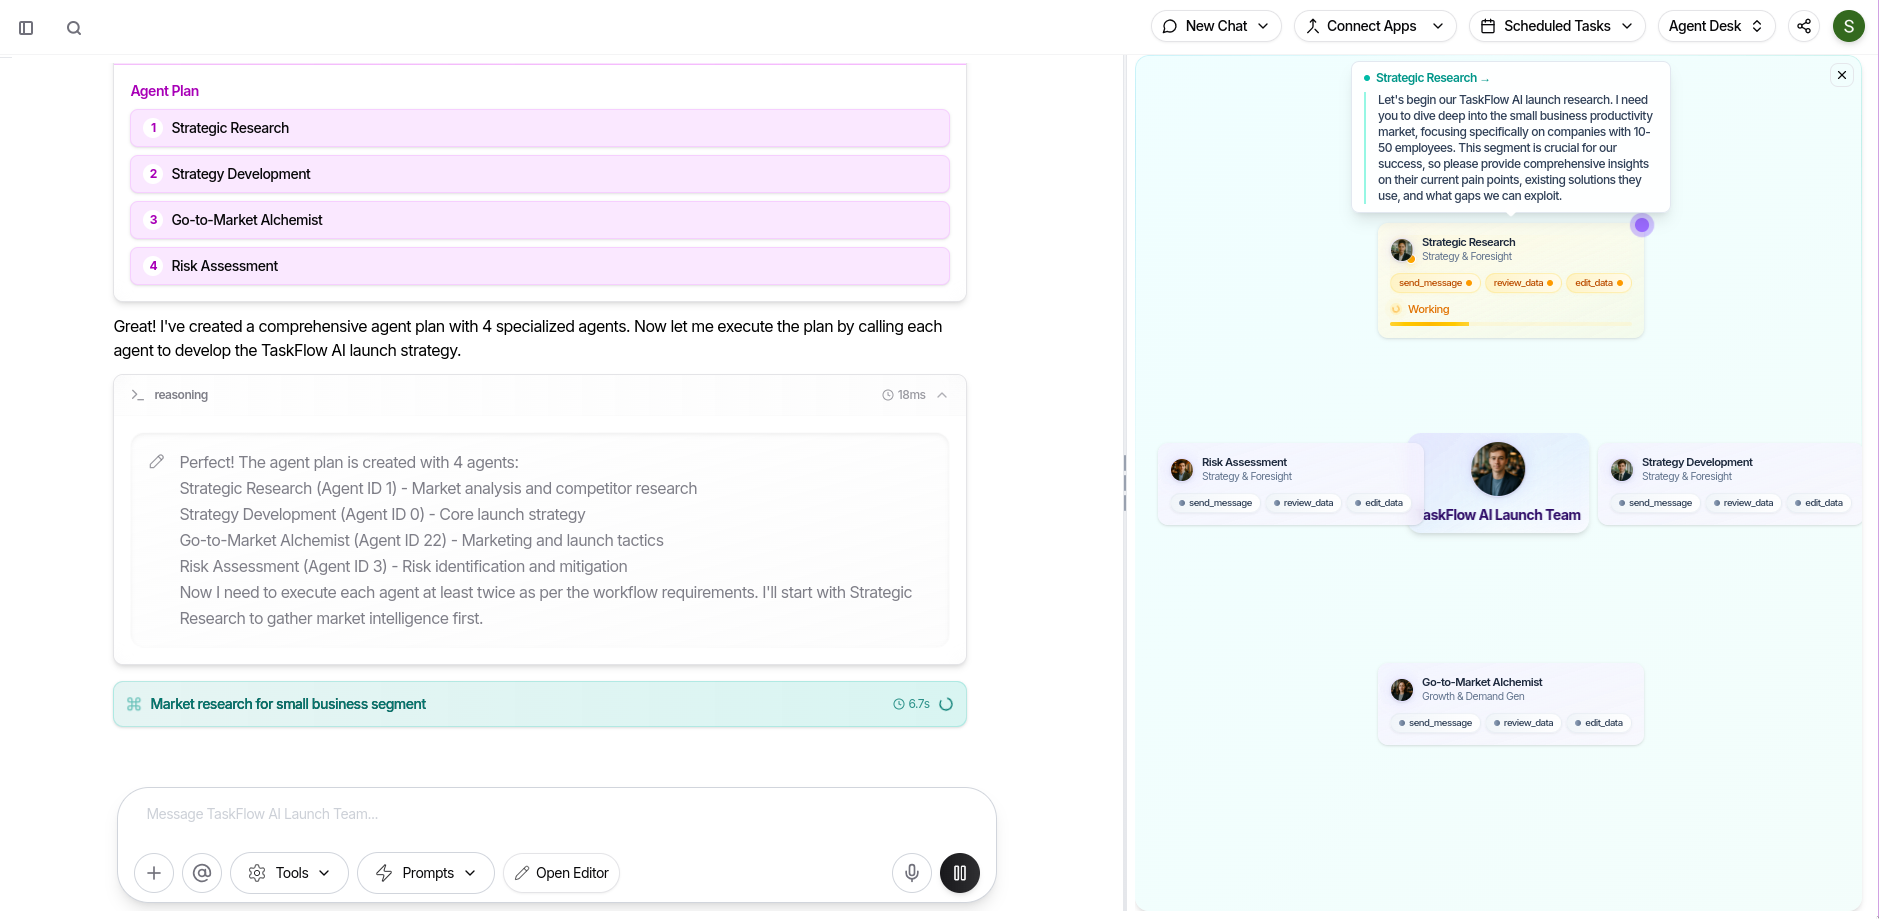
6.2 Watch Agents Collaborate
Try This Complex Request: “Create a presentation about our Q1 sales performance, include data from our CRM, and email it to the team” You’ll see:- Agent Plan Creation: System decides which agents are needed
- Task Distribution: Different agents handle data gathering, presentation creation, and email sending
- Live Communication: Watch agents pass information between each other
- Real-time Status: See which agents are working, waiting, or completed
Step 7: Create Content with AI
7.1 Rich Text Editor
Use the Editor for document creation: Features to Try:- AI Image Generation: Click “Add Image” and describe what you want
- Rich Formatting: Bold, italic, headings, lists, and more
- Export Options: Save to Google Docs, PDF, or DOCX
- HTML Output: Everything converts to clean HTML for compatibility
7.2 Presentation Builder
Create professional slide decks: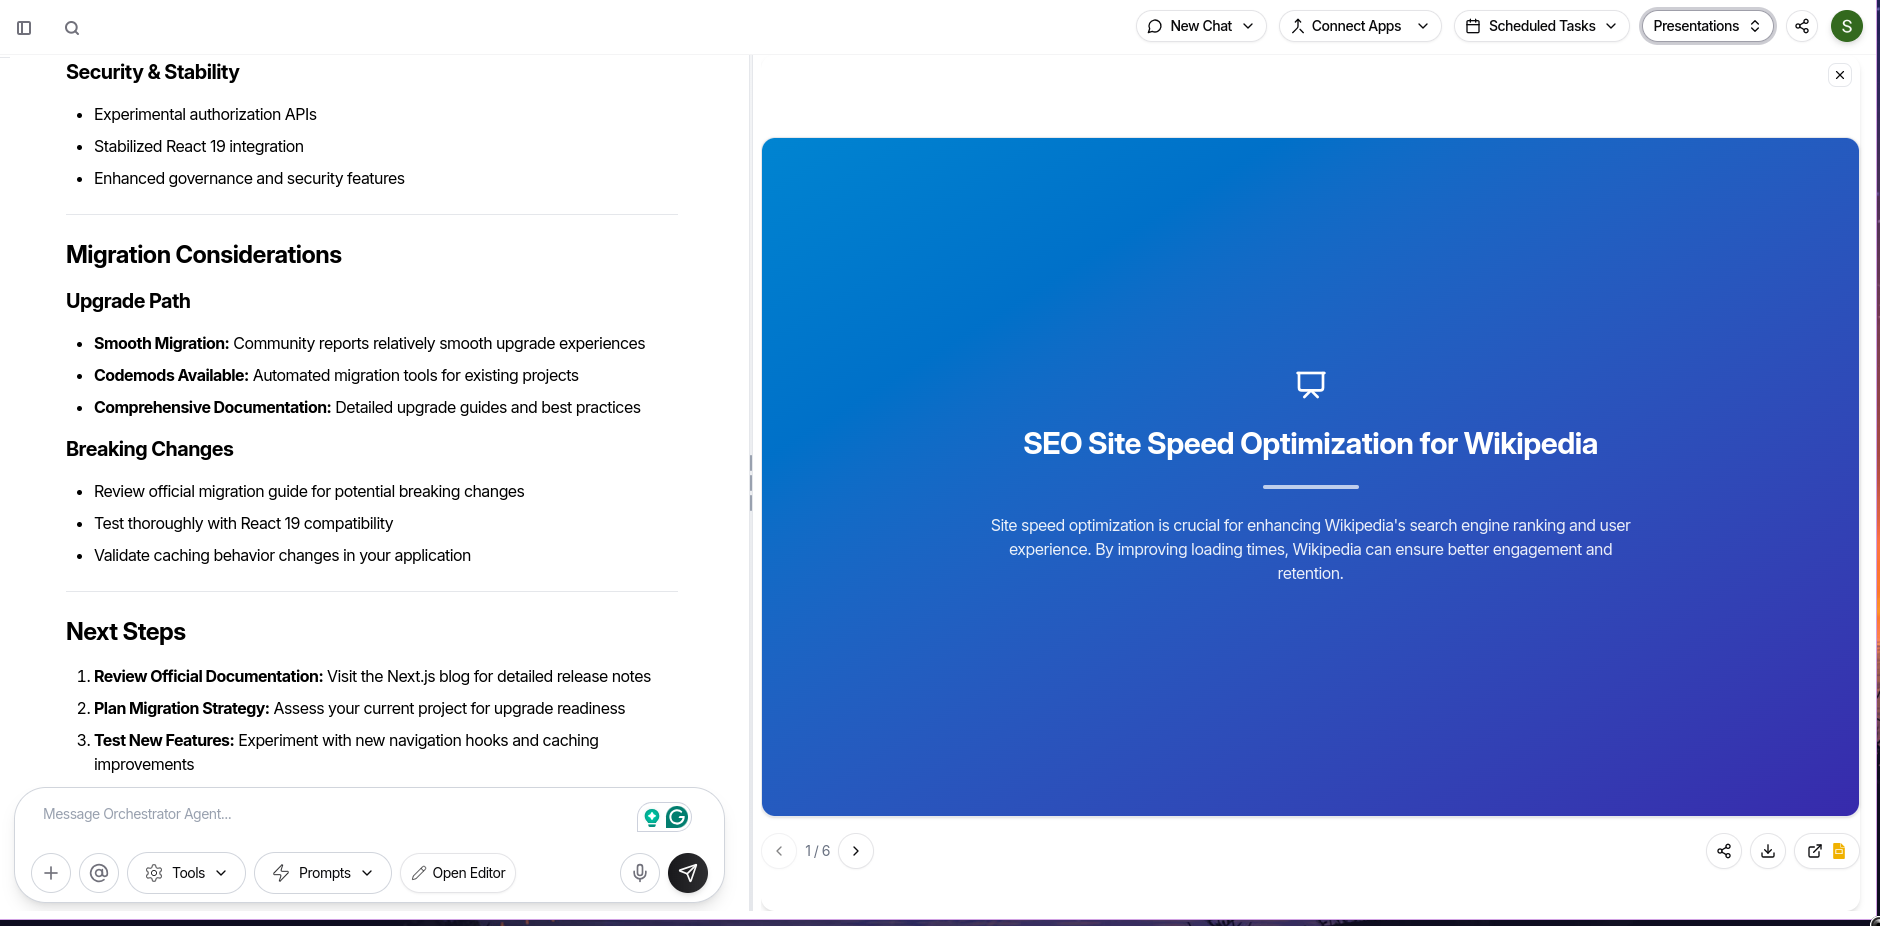
- Watch AI generate complete slide content
- Review and edit individual slides
- Export to PowerPoint or Google Slides
- Share with a public link
7.3 PDF Template Designer
Design reusable PDF templates: Create Your First Template:- Click “Create New Template”
- Use drag-and-drop to add elements
- Try AI generation: “Create an invoice template”
- Save and reuse for future documents
Step 8: Set Up Automation with Task Scheduler
8.1 Create a One-Time Task
Example: “Send a follow-up email to the client in 2 hours”- Open Task Scheduler
- Describe your task in natural language
- Set the delay (2 hours)
- Select connected apps (Gmail)
- Save and monitor in the dashboard
8.2 Create a Recurring Task
Example: “Send weekly team report every Monday at 9 AM”- Choose “Recurring Task”
- Describe the task
- Set cron schedule:
0 9 * * 1(Every Monday at 9 AM) - Select required apps (Gmail, Google Sheets)
- Activate the automation
8.3 Monitor Your Tasks
- Dashboard View: See all scheduled tasks at a glance
- Status Tracking: Monitor waiting, running, completed, and failed tasks
- Management: Pause, resume, or cancel tasks as needed
Step 9: Explore Advanced Features
9.1 Voice Agent
Try Voice Commands:- “Show me my latest Gmail messages”
- “Create a new document about today’s meeting”
- “Schedule a Zoom call for tomorrow at 2 PM”
9.2 Spreadsheet Editor
Data Manipulation:- Import CSV files or create new spreadsheets
- Edit cells with inline editing
- Export to Google Sheets or CSV
- Perform calculations and data analysis
9.3 Video Player
Supported Sources:- YouTube videos
- Vimeo content
- Direct video files (MP4, WebM, OGG)
Step 10: Organize with Workspaces
10.1 Create Project Workspaces
Workspace Benefits:- Project Isolation: Keep different projects separate
- Team Collaboration: Share workspaces with team members
- Custom AI Behavior: Set project-specific AI prompts
- File Management: Upload project-specific documents
10.2 Workspace Setup
- Create a new workspace for your project
- Upload relevant documents and files
- Set custom AI prompts for project context
- Invite team members with appropriate permissions
- Configure integrations and resource limits
Step 11: Content Management with Library
Access all your created content in the Library: Features:- Unified View: See all documents, presentations, and images
- Smart Search: Find content by title or preview text
- Filters: Show only documents, presentations, or images
- Quick Actions: Edit, delete, download, or share content
Next Steps: Advanced Workflows
Complex Automation Examples
1. Weekly Report Automation:- Trigger: Every Friday at 5 PM
- Actions: Gather data from CRM, create report, email to team
- Agents: Data Analyst + Content Creator + Email Assistant
- Trigger: New lead in CRM
- Actions: Research company, score lead, create follow-up tasks
- Agents: Research Assistant + Sales Analyst + Task Manager
- Trigger: New blog post draft
- Actions: Edit for SEO, create social media posts, schedule publishing
- Agents: Content Editor + Social Media Manager + Scheduler
Pro Tips for Success
- Start Simple: Begin with basic tasks before building complex workflows
- Connect Gradually: Add one integration at a time to avoid overwhelm
- Use Templates: Leverage existing templates for common use cases
- Monitor Performance: Regularly review automation success rates
- Iterate and Improve: Continuously refine your agents and workflows
Getting Help
Support Resources:- Live Chat: Get real-time assistance
- Documentation: Comprehensive feature guides
- Video Tutorials: Step-by-step visual instructions
- Community Forum: Connect with other users
- Training Sessions: Join live training programs
Common Troubleshooting
Connection Issues:- Check OAuth permissions for connected apps
- Verify API limits haven’t been exceeded
- Ensure proper workspace access rights
- Review error messages in Task Scheduler
- Check if connected apps are accessible
- Verify data format requirements
- Refine agent instructions for better results
- Add more context through file attachments
- Adjust personal settings for better AI behavior
Ready to Build Amazing Workflows?
You now have the foundation to create sophisticated AI-powered workflows that span multiple applications and agents. Start with simple tasks, experiment with different features, and gradually build more complex automations as you become comfortable with the platform. Remember: Every feature in Reasoning Stack is designed to work together. Combine agents, automation, content creation, and integrations to build workflows that truly transform your productivity.Welcome to the future of AI-powered work. Start building your intelligent workflows today!